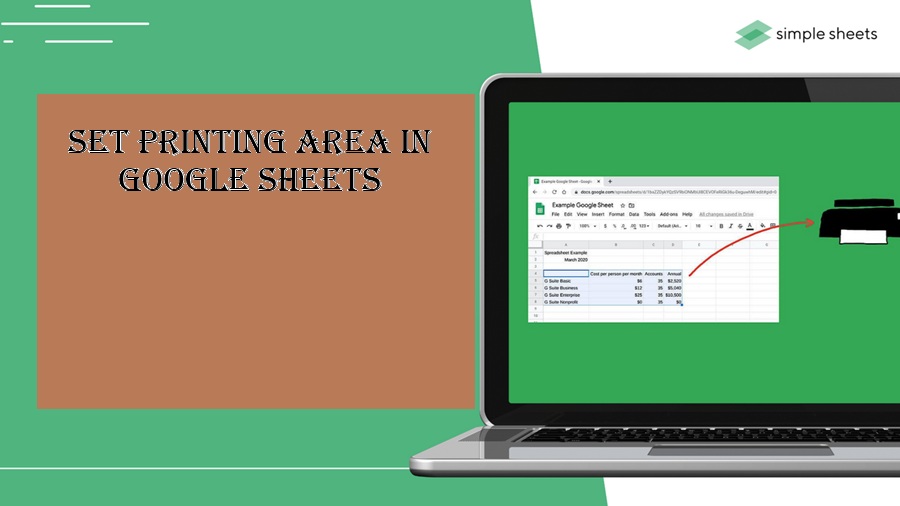
Introduction: Set Printing Area in Google Sheets
Set Printing Area in Google Sheets properly is this kind of small obligations that might make a massive difference in how professional your paintings seems. Whether you are getting geared up opinions, invoices, university assignments, or employer information, printing great the applicable section of your sheet is essential. If you have ever posted a sheet and ended up with greater easy pages or lessen off tables, you are now not on my own. In Google Sheets, setting the print region is not always completed with a unmarried “Set Printing Area in Google Sheets” button like in some other spreadsheet tools. Instead, it requires a slightly one of a kind method using the incorporated print settings. The proper records is that whilst you understand the method, it turns into brief and smooth. This manual will walk you via everything you want to apprehend approximately putting a printing area in Google Sheets, including step with the aid of step instructions, customization hints, and common errors to avoid.
What Does “Set Printing Area in Google Sheets” Mean?
Setting a printing place approach selecting first rate a particular a part of your spreadsheet which you need to print, in preference to printing the entire sheet. This is specifically useful while your sheet includes large datasets however you first class want a small issue for presentation or documentation.
For example, if your spreadsheet has 1,000 rows but your file handiest goals rows 1–50, you could define that segment as your print vicinity.
Why Setting a Print Area is Important
- It prevents pointless pages from being published
- Saves paper and ink
- Ensures your facts suits well on the web page
- Improves readability and presentation
- Helps hold formatting consistency
Step with the aid of Step Guide to Set Printing Area in Google Sheets
Unlike conventional spreadsheet software application, Google Sheets uses the Print Settings menu to outline what receives discovered.
Step 1: Select the Data Range
First, highlight the cells you want to print. Click and drag your cursor over the favored range.
For example:
Select A1 to D20 if that’s your preferred location.
Step 2: Open Print Settings
Go to the top menu and click on on:
File → Print
Alternatively, you can use the shortcut:
Ctrl + P (Windows) or Cmd + P (Mac)
Step 3: Choose “Selected Cells”
Once the print preview display display opens:
- Look for the “Print” dropdown at the right element
- Select “Selected cells” in choice to “Current sheet”
This guarantees great your selected variety can be found out.
Step 4: Adjust Layout and Formatting
Customize your print settings:
- Orientation (Portrait or Landscape)
- Paper duration (A4, Letter, etc.)
- Scale (Fit to width, in shape to internet net page)
- Margins (Normal, Narrow, Wide)
Step 5: Preview and Print
Check the preview cautiously to ensure the whole thing seems correct.
Click Next and hold with printing.
Important Print Settings Explained
| Setting | Description |
|---|---|
| Choose what to print (Selected cells, Current sheet, Workbook) | |
| Paper Size | Select paper format like A4, Letter |
| Orientation | Portrait (vertical) or Landscape (horizontal) |
| Scale | Adjust size to fit content on page |
| Margins | Control spacing around edges |
| Gridlines | Show or hide cell borders |
| Headers & Footers | Add page numbers, titles, or dates |
| Alignment | Center content horizontally or vertically |
Tips to Improve Print Output
1. Use “Fit to Width” Option
If your desk is just too sizeable, use “Fit to width” to ensure the whole thing fits on one internet internet web page.
2. Freeze Headers
Freeze the pinnacle row in advance than printing so headers stay visible on every internet web page.
3. Adjust Column Width
Make superb columns are not too full-size or too narrow earlier than printing.
4. Remove Unnecessary Data
Delete or cowl extra rows and columns to keep your print easy.
5. Use Borders and Formatting
Adding borders and bold headers improves clarity.
Common Mistakes to Avoid
Many customers face issues on the same time as printing because of small errors. Here are a few common ones:
Printing Entire Sheet through Accident
Always take a look at that “Selected cells” is selected, in any other case the entire sheet prints.
Content Getting Cut Off
This takes place at the same time as scaling or margins are not adjusted properly.
Blank Pages Printing
Extra easy rows or columns can also cause extra pages.
Ignoring Print Preview
Skipping preview can reason terrible formatting in the very last print.
Advanced Printing Features
Google Sheets moreover offers superior competencies for better printing manipulate.
Custom Page Breaks
You can manually regulate web page breaks within the print preview display to manipulate wherein pages split.
Headers and Footers
- Page numbers
- Sheet name
- Date and time
This is beneficial for critiques and true documents.
Repeat Frozen Rows
When printing multiple pages, frozen rows mechanically repeat on each net page.
Difference Between Google Sheets and Excel
Here’s a assessment of print location abilties:
| Feature | Google Sheets | Microsoft Excel |
|---|---|---|
| Print Area Button | Not available | Available (Set Print Area) |
| Method | Use Print Settings | Direct selection + setting |
| Ease of Use | Simple but indirect | More direct |
| Customization | Good | Advanced |
| Cloud Access | Yes | Limited (offline version) |
Even even though Google Sheets lacks an immediate button, its technique is still powerful.
Real-Life Use Cases
Setting a print place is beneficial in lots of situations:
- Printing invoices for clients
- Submitting college assignments
- Preparing commercial organisation reviews
- Sharing summarized statistics
- Creating printable dashboards
Troubleshooting Printing Issues
If your print output isn’t accurate, try those fixes:
Issue: Data Not Fitting on Page
Solution: Use scaling alternatives like “Fit to net web page”
Issue: Extra Blank Pages
Solution: Remove unused rows and columns
Issue: Text Too Small
Solution: Increase scale or alter format
Issue: Columns Cut Off
Solution: Switch to landscape orientation
Pro Tips for Better Printing
- Always preview in advance than printing
- Use landscape mode for big tables
- Keep font length readable (10–12 minimal)
- Use regular formatting
- Avoid overcrowding information
Conclusion
Set Printing Area in Google Sheets may not be as honest as clicking a single button, but it’s nevertheless smooth when you apprehend the device. By selecting your favored cells and the usage of the print settings accurately, you could make certain clean, expert searching printouts every time. Whether you are a scholar, workplace worker, or employer proprietor, studying this feature will save you time, paper, and frustration. With the pointers and steps shared in this guide, you are now ready to print your spreadsheets like a seasoned.
FAQs
1. Can I completely set a print location in Google Sheets?
No, Google Sheets does not permit eternal print areas. You want to pick out the range every time in advance than printing.
2. How do I print notable a part of a sheet?
Select the cells → Go to File → Print → Choose “Selected cells”.
3. Why is my sheet printing on a couple of pages?
This generally takes location due to incorrect scaling or large content material material. Adjust the size settings.
4. Can I print more than one decided on regions?
No, you may handiest print one selected range at a time.
5. How do I center my content fabric at the equal time as printing?
Use the alignment options in print settings to center horizontally or vertically.